How do I add a favicon to my web page?
Current+ versions
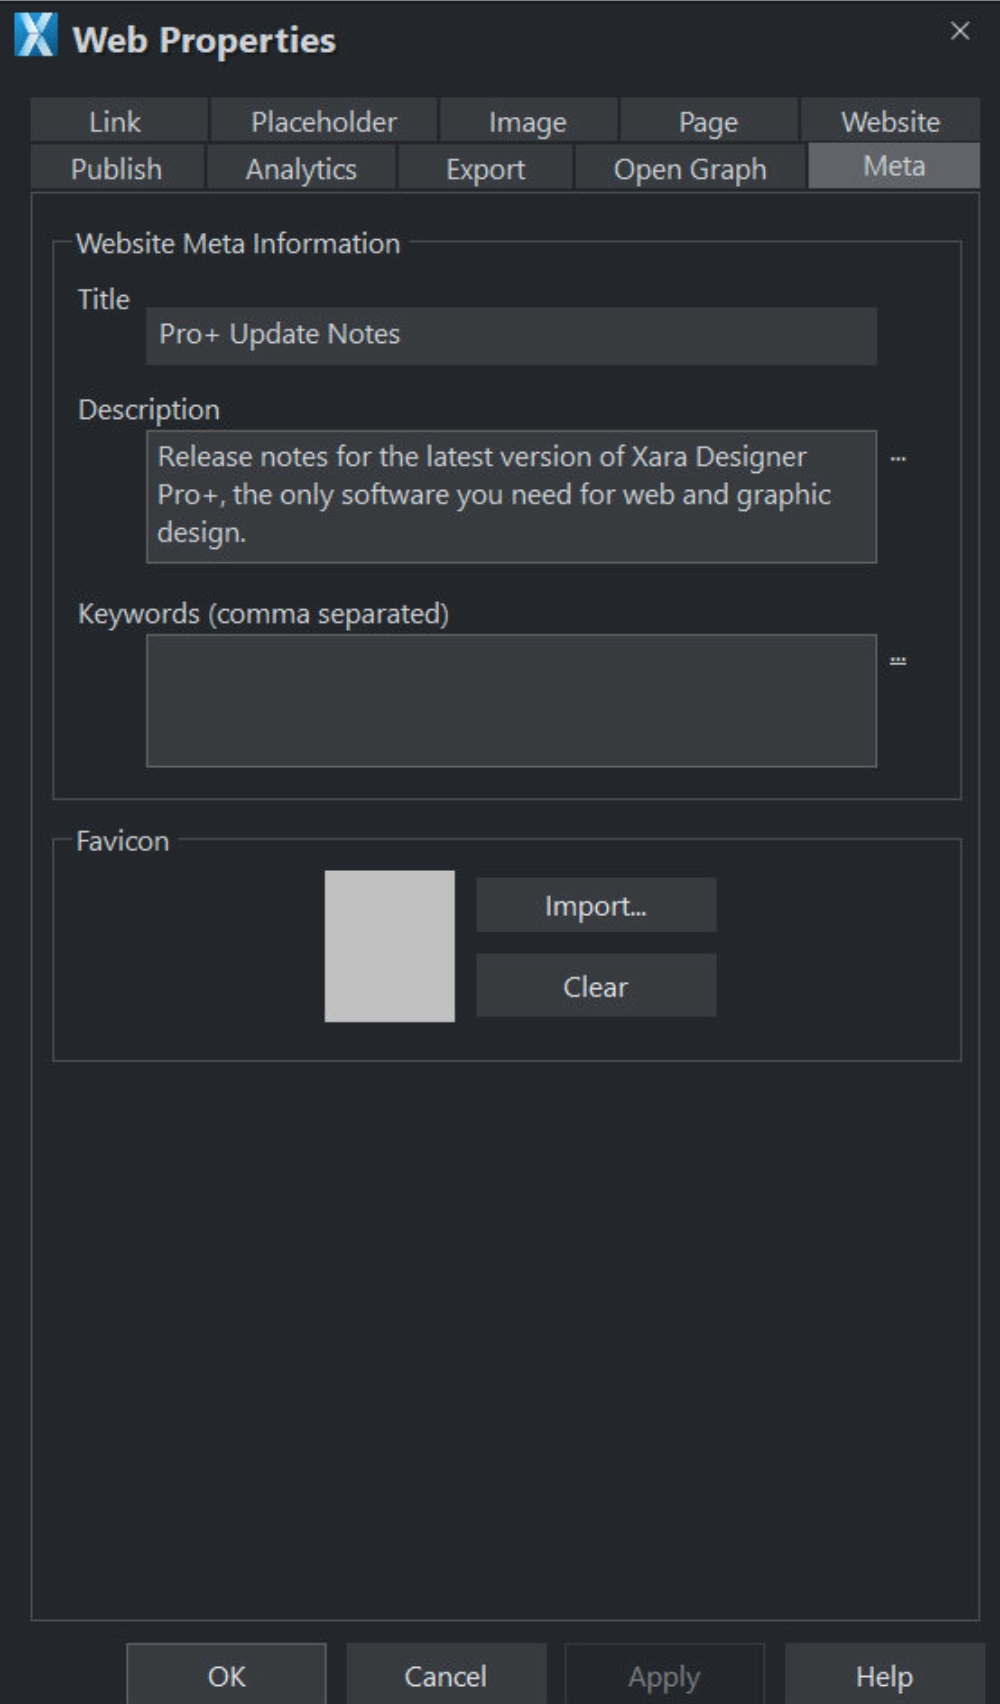
You may want to display your own customized icon, for example, a logo, on your site's page tabs when they are displayed in a web browser.
Since version 25, this is achieved from the Meta tab in Web properties. The website meta data fields Title, Description and Keywords have been moved to this new tab from the Website tab where they were before. Click on Import in order to import a bitmap type to use as your favicon.
Previous versions
Version 7 onwards
Here's how to create a Favicon:
- Draw or drag on to a web page the image that you want to use.*
- Right-click the image and click 'Names'
- Type 'favicon' into the Apply names box and click Add then Close.
* The image can be any size as it will be scaled to the right size automatically when displayed in a browser.
You can use only one 'favicon' per website. The object can reside on any of the pages within your document and does not need to be repeated to all pages. It will also not be shown on the webpage upon export.
Not all web browsers will display the favicon when your page is loaded from your local disc. Once your site is published the favicon is supported in all popular web browsers.
Version 6 and earlier
Version 5 or Version 6 of Xara programs do not provide a built in method of applying a favicon to your web page. We recommend upgrading to a more recent version, but it is possible to insert the the favicon via a placeholder as instructed below.
1. Create a support folder.
i. Insert a flv, mp4, or PDF (as a link) within your document.
ii. Save your .xar/ .web file to your chosen location
iii. Browse via windows explorer to your saved location where you will see the .web/.xar file and the support folder. The support folder will contain _xar_files within its name
iv. Browser the support folder and delete its contents.
v. Copy your ico file into the support folder.
vi. Go back to your document in Xara and delete the object inserted in step 1 and save the file.
2. Create a placeholder and apply the name <head>
i. Draw a rectangle, its position is not important so you can place it on the pasteboard
ii. Select the rectangle with the selector tool and click on the ‘Apply names’ icon from the selector tool infobar.
iii. Apply the name <head> to the rectangle.
3. Replace the placeholder with HTML to reference your ico file.
i. Right click on the placeholder and select ‘Web properties’ followed by the ‘Placeholder’ tab.
ii. Select the Replace with HTML code radio button and insert your code to reference the ico file. The code i have inserted is belowo<link rel="shortcut icon" href="index_htm_files/favicon.ico"><link rel="icon" type="image/gif" href="index_htm_files/animated_favicon1.gif">
Explantion of code
▪index_htm_files - as the first page of my site is called index, my exported graphics folder will be named index_htm_files and this is where the contents of the support folder will be copied too.
▪favicon.ico - My ICO file is named favicon.ico
▪animated_favicon1.gif - in this example, we also have an animated gif which can be shown as the favicon by some browers. This is not required.
4. Export and publish your document to complete the process.