Adding a Cookie Consent banner
Add a cookie consent message to your website. Configure the banner position, layout, color, and message to inform visitors that your website uses cookies.
Why add a Cookie Consent banner?
You will see on many websites a banner or pop-up which either lets you know that the website uses cookies or requests that you accept them.
It's not always necessary to require cookie consent - the vast majority of times this is required due to privacy laws which stipulate that your users must be made aware that cookies are being used.
If your website doesn't use or read cookies then there is no need to add one. Xara templates do not include any cookies and Xara itself does not add any to your site when it is published, however if you add a third party widget - Google Analytics code or similar then this may add cookies to your site.
It is your responsibility to ensure your website is compliant with privacy laws.
See this guide for more info on cookies.
To add a Banner:
1. Go to https://silktide.com/consent-manager/ and click on the button labelled Install cookie banner. It's free
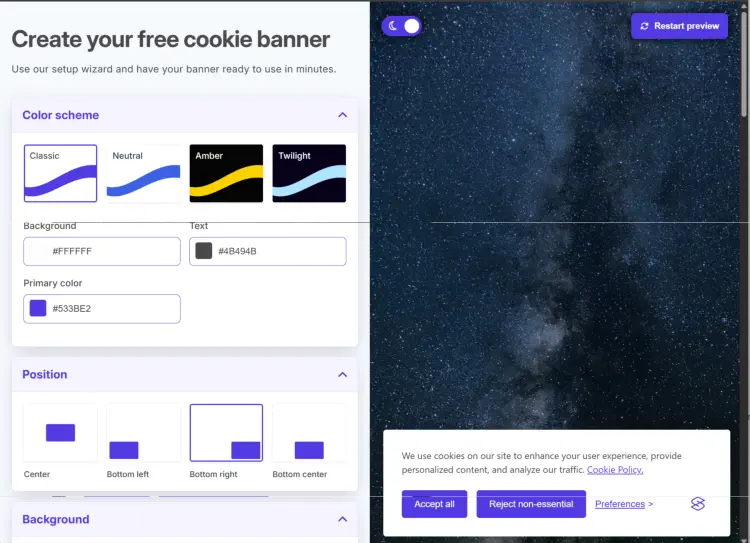
2. Configure your banner using the onboard instructions. You can...
- Change the color scheme.
- Set the position for the banner to display.
- Choose a cookie icon.
- Configure the cookie types.
3. When you have finished creating your banner, download the cookie banner files . This will download a zip file which you can extract.. Once extracted, go to your document in Xara and add a small rectangle to your pasteboard area.
4. with the rectangle selected , press Ctrl + alt + shift + a . This will allow you to attach the downloaded files to the shape and ensure they are included in the export. Attach both the JS file and then CSS file one at a time. On export these files will be exported to the same location as all other files (index_htm_files folder by default)
5. in the extracted contents of the zip there will be a readme file. The first 2 lines regarding adding the CSS and javascript file would have been completed by the above.. Copy the 3rd script which configures the cookie banner, You can then click on the rectangle created in step 3 above, and go to web properties > placeholder tab . click on the HTML code (head) button and paste the script.
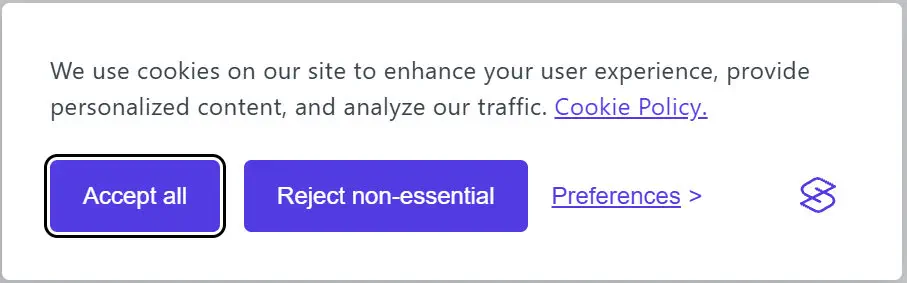
6. Preview the page and view it in a incognito window and you should see the cookie consent banner.
Some considerations...
- Don't forget that the consent banner won't appear again once you have clicked "Got it". If you want to continue to preview your banner then try using your browser's private browsing function, this means cookies won't be stored so the banner won't disappear after repeated testing of your webpages.
- If your website uses "Sticky" objects then these will always appear in front of any other page elements. This might be a problem if you have a "Sticky" header or footer and you are trying to configure a cookie consent banner to appear at the top or bottom of a page. Fix this by either turning off "Sticky" go to Utilities > Web Sticky/Stretchy or else by using a different banner position.