Applying a shadow
Applying a shadow
To apply a shadow:
|
|
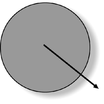
Alternatively to create a wall shadow you can:
- Select the object.
- Choose the Shadow Tool.
- Drag from the center of the object in the direction of the shadow.
Blur the edges of the shadow
|
|
This changes the size of the shadow. A small blur gives the effect of a sharp light source, a large blur, a diffused or distant light source. It is recommended that shadows are always blurred slightly as this is more realistic. |
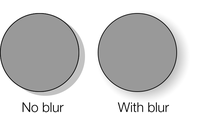
To blur the shadow edge:
- Select the object
- Choose the Shadow Tool.
- On the Shadow Tool InfoBar either drag the blur slider or type a value into the text box on the right.

Change the transparency of the shadow
|
|
A semi-transparent shadow is more realistic than a solid shadow. But you can change the transparency level of the shadow to suit your needs. |
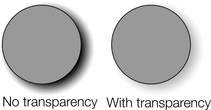
To change the transparency:
- Select the object
- Choose the Shadow Tool.
- On the Shadow Tool InfoBar, drag either the transparency slider or type a value into the text box on the right.

Changing the shadow profile
After applying a shadow, you can change how the shadow transparency changes across the blur. You can have a linear transition (which is the default profile and usually gives the most realistic results) or a profiled transition.
To change the shadow profile:
- Create the shadow.
- In the Shadow Tool, click Profile. This opens the Profile dialog box.
- You can either select a pre-defined profile from the dropdown list or drag the sliders to create a custom profile. The top option in the dropdown list (the straight line) creates a linear transition.
Copyright © Xara