Galleries
Xara Designer uses galleries to provide convenient access to external libraries of content like templates, fonts, colors, line attributes, and bitmaps/photos. This section of the user guide gives general information on features which are common to multiple galleries. Individual sections of this guide describe features specific to a particular gallery.
When you create a new document, the following gallery tabs are displayed in the gallery bar to the right of the workspace, in the following default order.

|
|
Designs Gallery |
|
|
Page & Layer |
|
|
Animation Frame |
|
|
Bitmap |
|
|
Line |
|
|
Fill |
|
|
Font |
|
|
Color |
|
|
Name |


Note: The Animation Frame gallery is only displayed in animation documents. When you open an animation document, the Animation Frame gallery is displayed already open on the right of the workspace.
Some galleries display objects held in libraries external to the document:
Fonts, Fill.
Other galleries relate to objects in the document, or options for those objects in the document:
Color, Bitmap, Line, Page & Layer, Name, Designs.
Displaying a gallery
To display a gallery:
- Click or hover the mouse pointer over the vertical tab for the gallery to the right of the workspace (the gallery bar). The gallery opens automatically. When you move the mouse pointer away from the gallery, it automatically closes.
- To keep a gallery open while you work, click the Auto Hide (pin) button in its top right corner. The Auto Hide button changes so the pin points downwards to indicate that the gallery is now 'pinned' to the workspace.
|
|
Unpinned: gallery closes when you move the mouse pointer away from the gallery. |
|
|
Pinned: gallery stays open when you move the mouse pointer away, and can also be moved and docked elsewhere. |


Note: By default the Line, Fill, Fonts, Color and Name Gallery do not display their title, just their individual icons, until they have been opened. Designer always displays the title of the last gallery that you have viewed.
Moving and docking a gallery
You can 'detach' any gallery from the gallery bar and move it to a more convenient location anywhere in the workspace. You can also dock the gallery (or a gallery group, see Grouping Galleries) in the top, bottom, left or right of the workspace.
You can move a gallery anywhere in the workspace
To move a gallery:
- Open a gallery and click the Auto Hide button to pin the gallery. The button changes to a downward-pointing pin to indicate that the gallery can be moved and pinned elsewhere.
- Click and drag on the gallery's title bar to move it around. You can either leave the gallery 'free floating' anywhere in the workspace or dock it in a new location.
If you move any of the following galleries, the others accompany it as a group.
- Bitmap
- Line
- Fill
- Font
- Color
- Name
Access an individual gallery by clicking its tab at the bottom of the group or click and drag a gallery tab to move it away from the group.
When you click and drag on a dockable gallery's open title bar, a number of arrows appear on the workspace, indicating where you can dock the gallery.
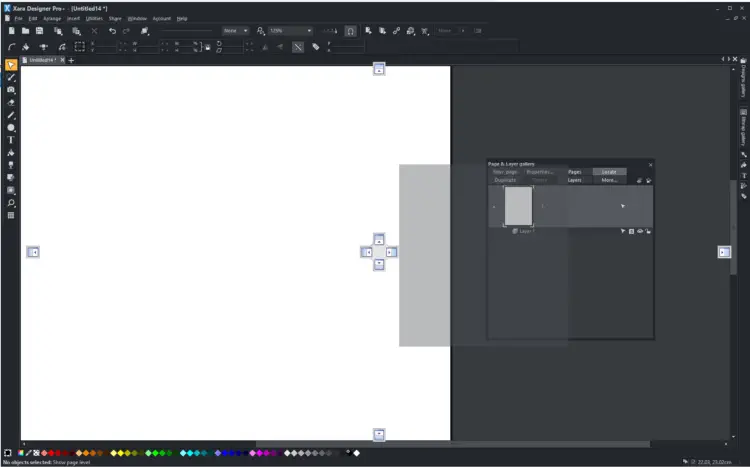
Dragging a gallery causes docking arrows to appear in the center, top, bottom, left and right of the workspace. Dock the gallery by dragging it to an arrow.
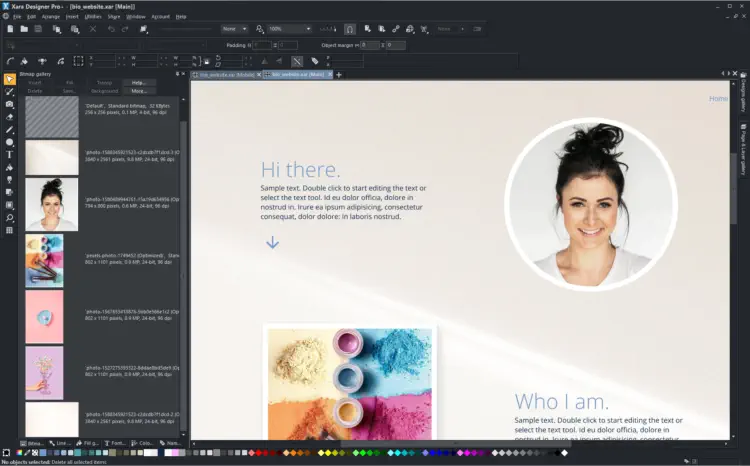
Example of a gallery that has been docked to the left of the workspace
To dock a gallery:
- Click and drag the gallery to the arrow pointing towards the location where you want to place the gallery. For example, if you want the gallery at the top of the screen, move it to the upward pointing arrow at the top of the workspace.
- When the mouse pointer reaches the arrow, a gray transparent box highlights the gallery's new location.
- Let go of the mouse button to dock the gallery. Now when you close or 'auto hide' the gallery, its tab will be displayed in the new location.
- Hover over or click its tab to reopen the gallery.
Note: To move all galleries back to their default position, choose Control Bars from the Window menu, click Galleries then Reset.
Grouping galleries
You can also group galleries and move the whole group to a new location if, for example, you are working primarily with 2 or 3 galleries that you want to be close to each other and easily accessible.
Example of a gallery group with gallery tabs at the bottom - click and drag to add a gallery to or remove a gallery from the group.
To group galleries:
- Disable the Auto Hide button (pin) on one of the following galleries: Bitmap, Line, Fill, Font, Color and Name gallery.The gallery is automatically grouped with the other five galleries, displayed as tabs at the bottom of the group. Click on a tab to open a gallery in the group.
To group a gallery with one previously docked:
- Click and drag the second gallery to the four arrows in the workspace center. Let go of the mouse when you are over the arrow pointing towards the previously moved (first) gallery. The second gallery is now grouped with the first.
To add a gallery to an existing group:
- Click and drag a gallery group over the center of the 4 docking arrows in the center of the workspace. When you subsequently click and drag the gallery you want to add over the group you want to add it to, the four docking arrows now appear in the center of the gallery group.
- Drag the gallery to the center of the arrows within the group. The gallery is added to the group and its tab displayed at the bottom of the group. When you dock a gallery group, all galleries within the group are also docked.
To remove a gallery from the group, click its tab and drag to move it away.
When you auto hide or close a gallery group, all gallery tabs in the group are displayed in the workspace border nearest to the last docking location.
Using galleries
To fold or unfold a section in a gallery:
- Click the Fold/Unfold icon.
- Or double click the title strip.
- Or right click a section to display a pop-up menu. Select Fold/Unfold section. The pop-up menu also has options to scroll to the previous section or next section.
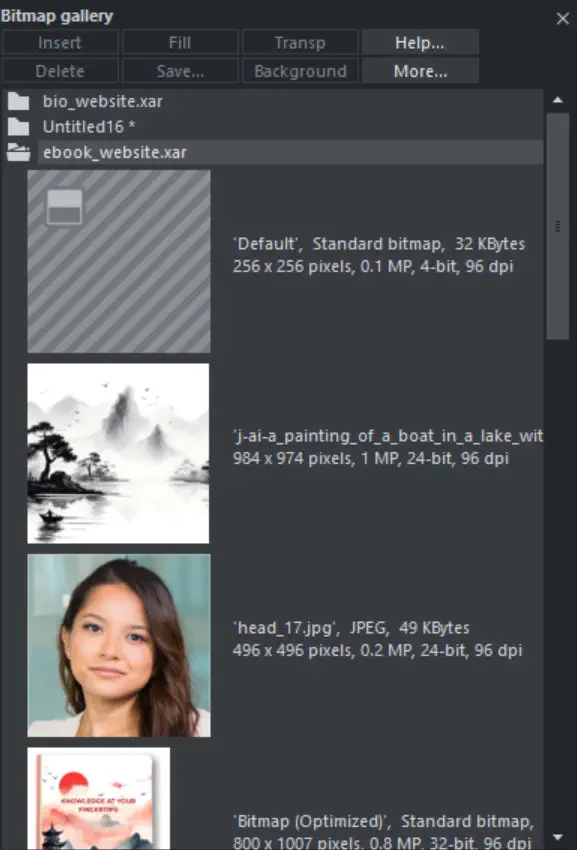
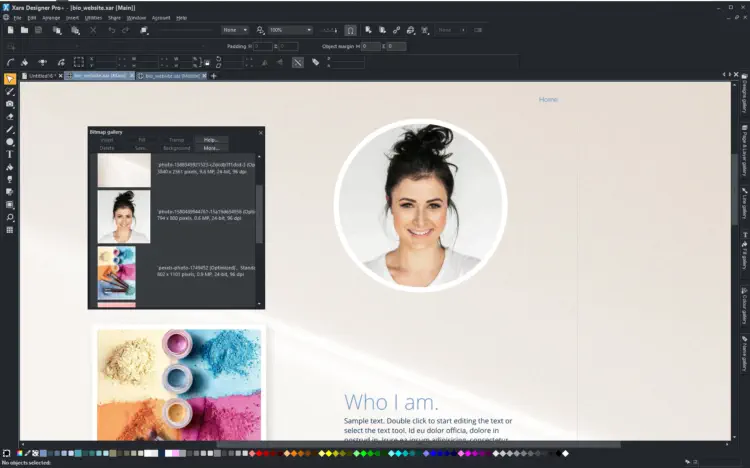
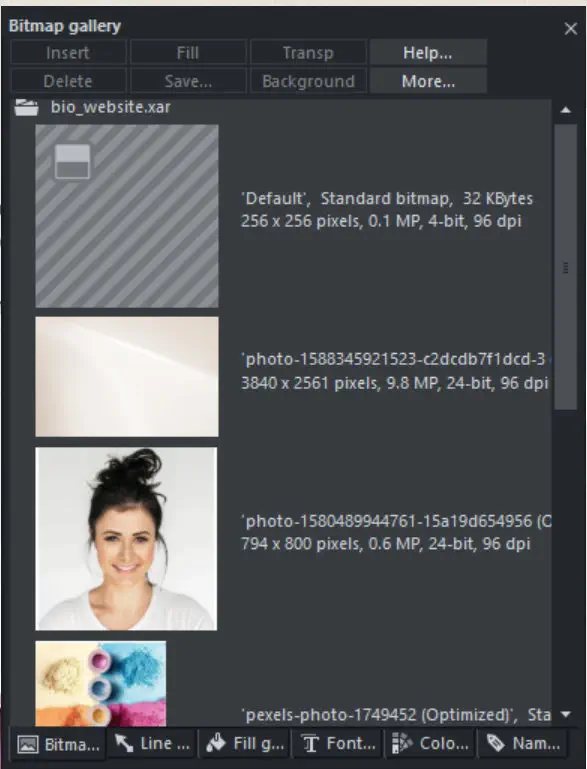
This illustration shows the gallery is unfolded. Other galleries are similar.
The buttons along the top depend on the gallery (e.g. Fill and Transp are specific to the Bitmap Gallery.) However, most galleries have the following buttons:
Apply applies the selected item in the gallery. Click on an item to select it.
More opens a menu from which you can choose from the following:
- Find is described later in searching for an item name.
- Sort is described later in re-ordering items in a gallery.
- Properties provides control over size of the icons and amount of information displayed in the gallery.
- Add (fill and fonts galleries) is described later in adding to a gallery.
- Remove (fill and fonts galleries) is described later in deleting sections from a gallery.
Selecting items
To select an item:
- Click an item to select it.
- Or click an item, then "Shift + click" on another item; all items in between the two points will be selected.
- Or "Ctrl + click" to add that item to the selection.
Re-ordering items in the gallery
In some galleries, "More" > "Sort" opens a dialog box. You can sort by name and, depending on the gallery, by other criteria. The primary key controls the initial sort. For some sort parameters such as file type or name length, there may be two or more files with the same type or name length. These files can be further sorted using the secondary key.
Adding to a gallery
You may want to add extra items to these galleries (Designs, Fill & Fonts galleries only). To do this:
- Copy the files you want to add into a new directory (folder) using the Windows Explorer.
- For the Designs Gallery these files can be any of a wide range of vector or bitmap file types.
- For the Fill Gallery they can be any of the bitmap formats supported by Designer Pro+ (listed in importing and exporting).
- For the Fonts Gallery they can be Adobe Type 1 or TrueType fonts.
- In the appropriate gallery, click the "Disc Designs/Fills/Fonts" button. This opens a dialog box.
- Use the dialog box to select the directory you want to add.
- Click "Add". This creates a new section in the gallery.
If you later want to add more items to the folder:
- Copy the new files into the existing folder.
- In the gallery, click "Disc Designs/Fills/Fonts". This opens a dialog box.
- Use the dialog box to select the folder you want to add.
- Click "Update" to update the section in the gallery.
Deleting sections from a gallery
To delete a section from a gallery (Fill & Fonts galleries only):
- Click on the title strip of the section or sections you want to delete.
- Click "Remove".
If you later want the section again, add its folder to the gallery (described earlier).
Closing a gallery
By default a gallery's Auto Hide button is enabled (i.e., the gallery's Auto Hide button in the top right corner is unpinned), so that the gallery closes automatically when you move the mouse pointer away from it.
However if you have disabled the Auto Hide button (pinned the gallery), you have to close the gallery manually.
To close a free-floating gallery, click the Close button in the top right of the gallery. The gallery closes and its tab is displayed in the gallery bar.
To close a docked gallery, click the Auto Hide (pin) or Close button in the top right of the gallery. The gallery closes and its tab is displayed in the workspace border where you docked it.
To re-open the gallery, hover over or click on its tab.
Note: To remove a gallery completely, choose Galleries from the Utilities menu and choose the gallery you want removed.
Copyright © Xara