Optimizing Photos and Bitmaps
With the ever increasing resolution and file size of digital camera JPEGs, if you have a document containing many images, the file size can quickly become very large. For example, a multi-page document containing 20 full resolution JPEGs, each of 5mb, would produce a .xar file of over 100mb*.
Furthermore, these photos are often unnecessarily high resolution. Reducing a photo from a 8 megapixel digital camera to be 2 inches (5 cm) wide on the page will result in this image being around 1500 dpi. Whilst a very high resolution image gives greater flexibility for printing (and you can zoom in, or enlarge small parts of the photo), this is far higher than required for even the best quality commercial printing, and even more so for web graphics or HTML production.
If you clip to a small part of the image, or cut-out only a small part of your photos, there could be large parts of hidden image outside the visible area. For editing purposes this "live crop" is a great feature, as you can un-crop, alter the size, position and scale and everything remains as sharp as possible. But for finished documents you may want to remove the invisible parts.

The cut-out butterfly image still has the rest of the photo attached. If you go into the Fill Tool you can easily see this by resizing the fill inside the outline. So the parts of the image outside the butterfly will probably be superfluous in your final document.
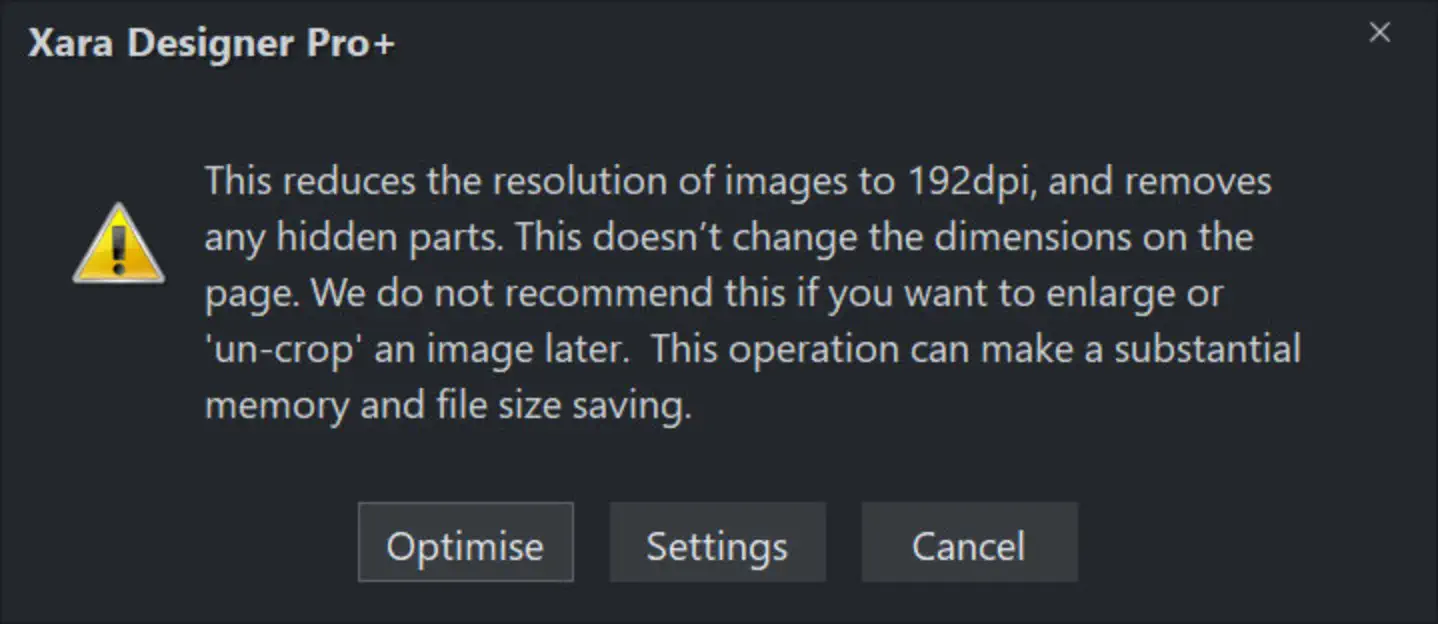
Right click a photo and choose Optimize Photo or choose "Utilities" > "Optimize photo..".. This dialog performs three important functions:
- Removing invisible parts of photos
- Reducing resolution of photos
- Converting PNG or bitmaps to embedded JPEGs to optimize file size
Selecting this menu option for any bitmap will display the Optimize Photo dialog.
The default resolution depends on the type of document you are working on:
- 192 dpi Web documents with Retina hi-definition images.
- 150 dpi Print documents.
- 96 dpi Other documents.
When optimizing non-JPEG images, Xara will automatically decide whether it's best to optimize to a PNG or JPEG, depending on the nature of the image itself.
You can click the Settings button on this dialog, if you want to change any settings such as the image format used for the optimization, JPEG quality, etc.
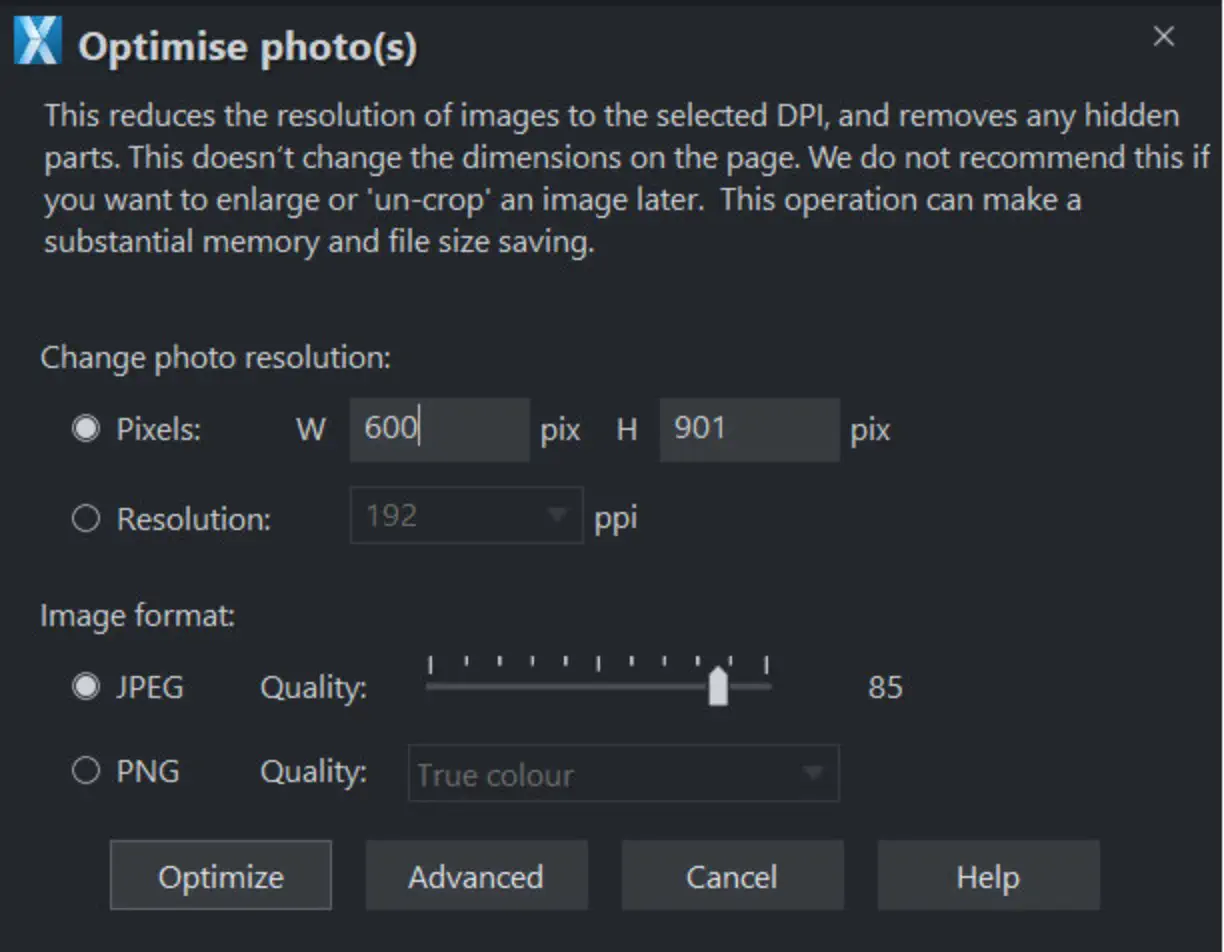
You can change the resolution used in this dialog, by either choosing the physical size you want for the optimized image (width/height in pixels), or by entering a different dpi (eg. perhaps 150dpi if you want print quality).
If you choose the dpi option the value you enter is remembered and becomes the default just for the current session. You can also maintain the photo's current resolution by choosing Current from the ppi list.
You can also choose to optimize as a PNG (produces much larger images, but better quality for graphics and text images) or change the quality used for JPEG optimization (higher quality means larger JPEG sizes).
If your photo is cropped, only the visible part of the image is preserved in the optimized image.
For printing, a photo resolution of 150dpi gives very good results, whilst 300 dpi will provide the highest quality commercial printing (most people cannot tell the difference between 150dpi and 300dpi, but the 300dpi requires four times as much memory or file space).
Warning: "Optimize photo" is a "destructive" operation. When you save the file the parts of the image removed are lost, and the resolution changed permanently (you can of course undo the changes while the file is open for editing).
You can optimize multiple photos at once if you want them to all have the same dpi. Select the photos you want to optimize and then choose the Optimize operation as described above. If your photos have different dimensions, the option to optimize by pixel size is disabled and you must just choose the required dpi.
Or you can use the "Utilities" > "Optimize all images" facility to optimize all the bitmap images in your document in one operation.
The optimization process will convert large non-JPEG images to smaller JPEG images if it decides that the image can be stored and exported as a JPEG without an unacceptable loss in quality.
Note that after optimizing the original unoptimized and now unreferenced photo remains in the Bitmap Gallery. This means it is still in memory and so the memory requirements of your design will not have been reduced. Simply save your design and reload after optimizing, to eliminate the original large images.
Copyright © Xara