The Fonts Gallery
The Fonts Gallery serves a number of useful purposes:
- It's an easy way to preview the style of all fonts on your system.
- You can apply fonts by drag-and-drop
|
|
To display the Fonts Gallery click its tab in the galleries bar to the right of the editing window. Or you can toggle display of the Fonts Gallery by choosing Utilities > Galleries > Fonts Gallery or pressing "Shift + F9". |

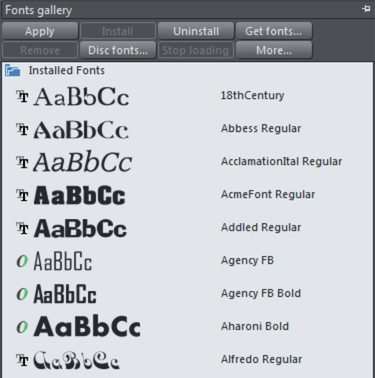
The fonts are grouped into several categories:
- At the top are fonts installed on the computer (i.e. all the fonts in your Windows/Fonts folder).
- Next are all fonts grouped by appearance (for example: script, decorative, sans serif)
The Document handling chapter has general information about galleries.
Applying a font from the Fonts Gallery
This is an alternative to using the Text Tool InfoBar. You can either:
- Select the font in the gallery and click Apply to apply to the selected text object, or double click a font
- Or drag & drop the font name onto any text (selected or not). The pointer changes shape when in position.
If you apply a font that is not installed it asks if you want the font installed.
Installing or uninstalling a font
- Click on a font name to select it. You can select additional fonts by either "+ clicking" to select a group or "Ctrl + clicking" to add an individual font to the selection.
- Click Install or the Uninstall button on the top of the gallery. Alternatively if you apply an uninstalled font this automatically installs it.
You can also click Get Fonts to download a selection of fonts, or load them from an alternative source such as CD.
Fonts from other suppliers can also be installed using the Windows Control Panel (described in the Windows Help and Support section of Windows).
Note that to install fonts from the Font Gallery Xara Designer must be running with Administrator privileges.
Copyright © Xara