Exports, slices, and stretches properties
|
|
In this list box you can select which property of the used names are shown in the Name Gallery. |

Exports
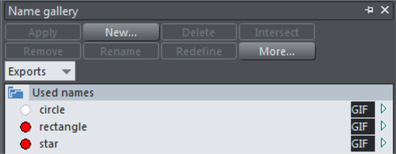
These options are used when exporting graphics as a series of slices and for batch exporting.
A click on the arrow displays a dialog box that lets you select the file name, destination folder and file format to export in. By default the file name is the same as the name in the Name Gallery. Note that clicking "Apply" just stores the selected options, and that it doesn't save a bitmap; do this by exporting the image with the More > Export option.
|
|
(Extension displayed depends on the file format chosen.) Click the box to open the "Export dialog" to specify more details. Click "Apply" to store the selected options. |
|---|

Slices
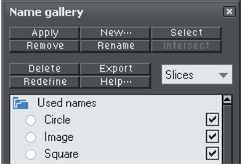
When you choose the Slices check box those named objects slice underlying objects. For more information on image slicing read Image slicing.
Note: When exporting images as slices, the chosen destination folder from the exports property is ignored. All the sliced graphics must be in the same folder, and the destination folder is that selected for the HTML file when you export the slices.
Stretches
You can use named objects to stretch other named objects, e.g. the text on a button. Both the text and the button are named objects, with the text flagged as stretching the button. When you change the length of the text (for example by typing in more characters), the button automatically resizes to match. Newer button designs found withinElements> components are designed as smart layouts and stretch automatically. Older button designs found within Elements> Freeform Websites continue to be marked up by naming objects to stretch.
When you choose Stretches properties, a check box to the right of object names shows those objects you want to stretch. The arrow to the right of the check box shows if the stretching options are set up (solid arrow) or not (hollow arrow). Click the arrow to display the Extend Dialog Box which lets you select those objects from the list of named objects to control the stretching. For each direction you can select if the size changes in the same direction as the controlling object (Extend) or equally from the center (Scale).
Copyright © Xara