Labeled lines
These designs are useful as headings, titles, dividers and for labeling in diagrams.
You can find them in Elements / Designs Gallery and in the Insert menu - "Insert" > "Shape" > "More Lines & Arrows". As with all SmartShapes, hold the mouse pointer over each handle to see a tooltip telling you what the handle does if it's clicked or dragged.
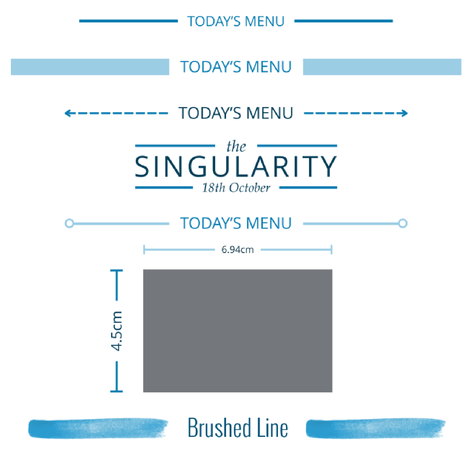
Various labeled line examples
- When you set the label text to a number followed by a dimension unit, the line length will automatically change to match the length specified. So for example if the label is set to 10cm, as soon as you click away from the label text, the line will update to be 10cm long. You can enter other units such as inches, px (pixels), mm, etc. If you enter a number without any indication of units, the units of the current document are assumed (as set in "Utilities" > "Options" > "Units").
- When the labeled line is selected, the line width control on the top bar shows you the current width of the line. You can change the line width using that control, or drag the line width handle on the line. Or with the mouse pointer over the line, hold down Ctrl and Shift and use your mouse wheel to adjust the line width.
- You can also change the line style, by selecting the labeled line and choosing from styles in the Line Gallery. Or apply a brush stroke or line profile using the Freehand Tool, as shown in the last example above.
- Drag the end style handle on each end of the line to cycle through a variety of different end styles.
- As you make the label text longer or shorter, the lines adjust their size to fit, without changing the width of the overall design.
- Drag the end handles to move the ends and adjust the length of the line, just as you do with arrows.
Copyright © Xara